Installation
The latest official stable version of OpenShot Video Editor for Linux, Mac, Chrome OS, and Windows can be downloaded from the official download page at https://www.openshot.org/download/. You can find our latest unstable versions (i.e. daily builds) at https://www.openshot.org/download#daily (these versions are updated very frequently, and often contain many improvements not yet released in our stable build).
Clean Install
If you are upgrading from a previous version of OpenShot or are experiencing a crash or error
message after launching OpenShot, please see Reset (Default Values) for instructions on clearing
the previous openshot.settings file (for a clean install with default preferences).
Windows (Installer)
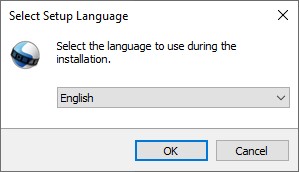
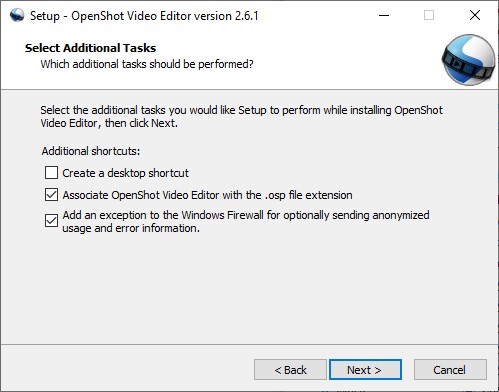
Download the Windows installer from the official download page (the download page contains both 64-bit and 32-bit versions), double click it, and follow the directions on screen. Once completed, OpenShot will be installed and available in your Start menu.
Windows (Portable)
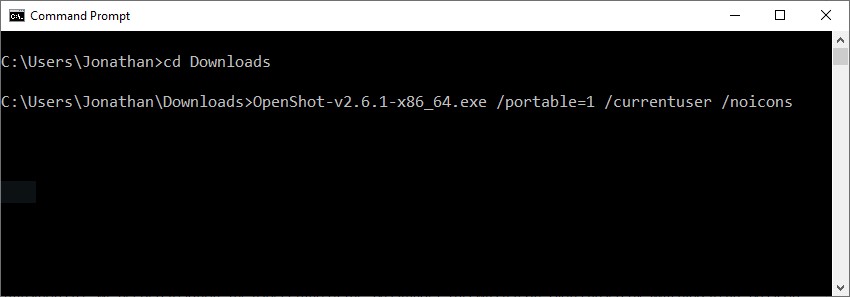
If you need to install OpenShot on Windows without Administrator permissions, we also support a portable installation process. Download the Windows installer from the official download page, open the command prompt, and type the following commands:
:caption: Install portable version of OpenShot (no administrator permissions required)

cd C:\Users\USER\Downloads\
OpenShot-v2.6.1-x86_64.exe /portable=1 /currentuser /noicons
Mac
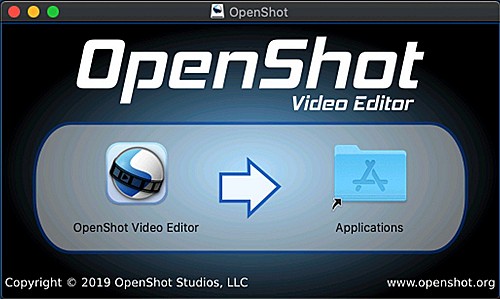
Download the DMG file from the official download page, double click it, and then drag the OpenShot application icon into your Applications shortcut. This is very similar to how most Mac applications are installed. Now launch OpenShot from Launchpad or Applications in Finder.
Linux (AppImage)
Most Linux distributions have a version of OpenShot in their software repositories, which can be installed using your package manager / software store. However, these packaged versions are often very outdated (be sure to check the version number: Help→About OpenShot). For this reason, we recommend installing an AppImage from the official download page.
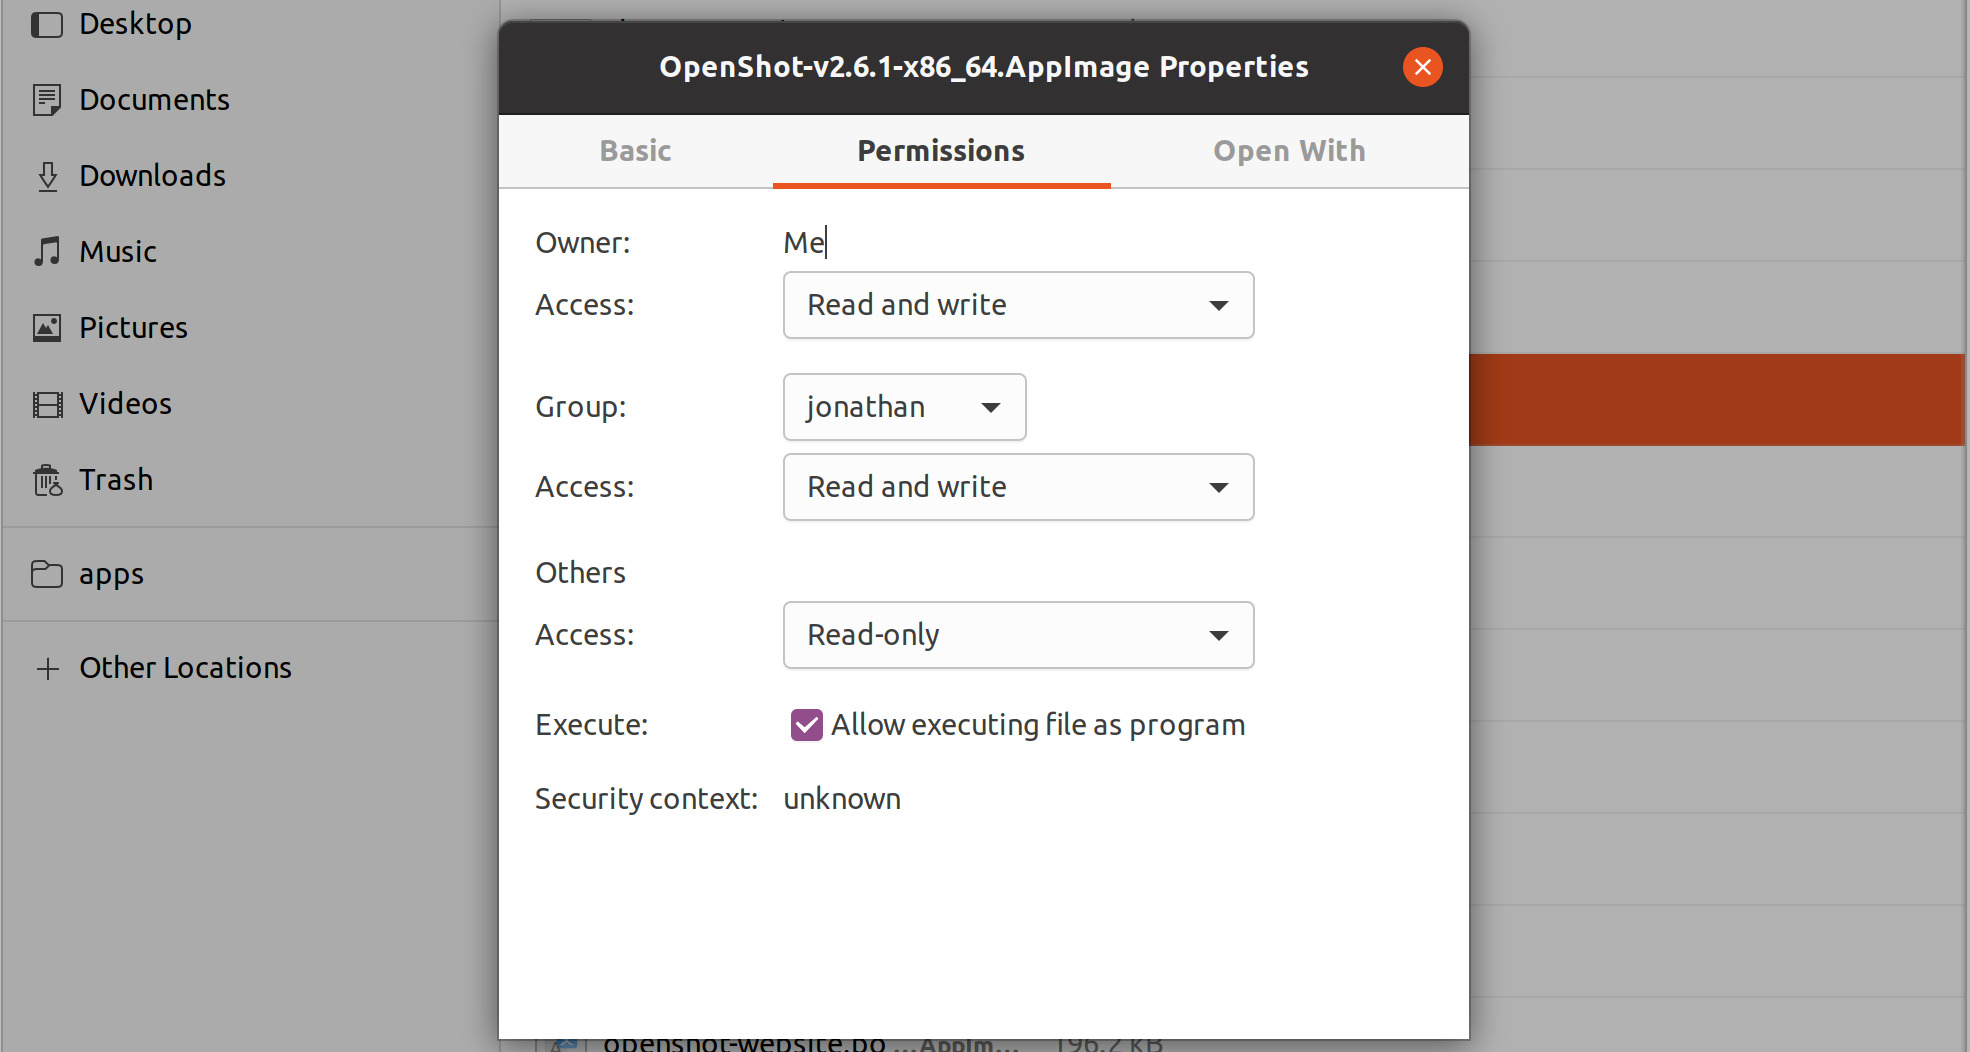
Once downloaded, right click on the AppImage, choose Properties, and mark the file as Executable. Finally, double click the AppImage to launch OpenShot. If double clicking does not launch OpenShot, you can also right click on the AppImage, and choose Execute or Run. For a detailed guide on installing our AppImage and creating a launcher for it, see our AppImage Installation Guide.
Unable to Launch AppImage?
Please verify that the libfuse2 library is installed, which is required to mount and read an AppImage.
On newer versions of Ubuntu (i.e. 22.04+), libfuse2 is not installed by default. You can install it with
the following command:
sudo apt install libfuse2
Install AppImage Launcher
If you plan on using OpenShot often, you will probably want an integrated launcher for our AppImage. We recommend using AppImageLauncher, which is the officially supported way to launch (and manage) AppImage files on your Linux desktop. If you are on a Debian-based distro (Ubuntu, Mint, etc…), there is an official AppImageLauncher PPA:
sudo add-apt-repository ppa:appimagelauncher-team/stable
sudo apt update
sudo apt install appimagelauncher
Linux (PPA)
For Debian-based Linux distributions (Ubuntu, Mint, etc…), we also have a PPA (Personal Package Archive), which adds our official OpenShot software repository to your package manager, making it possible to install our latest version, without relying on our AppImages.
Stable PPA (Contains only official releases)
sudo add-apt-repository ppa:openshot.developers/ppa
sudo apt update
sudo apt install openshot-qt python3-openshot
Daily PPA (Highly experimental and unstable, for testers)
sudo add-apt-repository ppa:openshot.developers/libopenshot-daily
sudo apt update
sudo apt install openshot-qt python3-openshot
Chrome OS (Chromebook)
Chrome OS supports Linux apps, but this feature is off by default. You can turn it on in Settings. Once Linux is enabled, you can install and run OpenShot Linux AppImages on any x86-based Chromebook. The command below will download our AppImage and configure your system to run OpenShot successfully.
Navigate to chrome://os-settings/crostini (Copy/Paste)
Under “Linux (Beta)” select “Turn On”. Default values are fine.
- When the Terminal appears (i.e. black window), Copy/Paste the following command:
bash <(wget -O - http://openshot.org/files/chromeos/install-stable.sh)
Previous Versions
To download old versions of OpenShot Video Editor, you can visit https://github.com/OpenShot/openshot-qt/tags. Click on the version number you need, and scroll to the bottom, under the release notes. You will find download links for each operating system. Download the appropriate version for your computer, and follow the installation instructions above.
NOTE: Projects (*.osp) made with newer versions of OpenShot Video Editor might not support older versions.
Uninstall
To fully uninstall OpenShot from your system, you must manually delete the .openshot_qt folder:
~/.openshot_qt/ or C:\Users\USERNAME\.openshot_qt\, which contains all
settings and files used by OpenShot. Be sure to backup any recovery files of your existing
projects first (*.osp files). Please see Reset (Default Values) for instructions on clearing
the previous openshot.settings file (for a clean install with default preferences).
Windows
Open Control Panel from the Start menu
Click on Programs and Features
Select OpenShot Video Editor, then click Uninstall
Mac
Open Finder and go to Applications
Drag the OpenShot Video Editor icon to the Trash in the Dock
Right-click Trash and choose Empty Trash
Ubuntu (Linux)
Open up Files
Locate the
*.AppImageand delete the fileOR click Activities, Right-click on OpenShot Video Editor icon, and choose Remove AppImage from System